Bootstrap Menu Tutorial
Intro
Even the simplest, not touching on the more complicated web pages do need some sort of an index for the site visitors to quickly get around and identify what they are actually seeking in the very first number of seconds avter their coming over the webpage. We need to regularly think a site visitor might be rushing, visiting multiple webpages for a while scrolling over them looking for a specific product or choose. In these kinds of scenarios the clear and effectively stated navigating selection could create the contrast amongst one new site visitor and the webpage being clicked away. So the design and behavior of the web page navigating are essential definitely. Additionally our websites get increasingly more seen from mobile phone so not having a webpage and a navigation in certain behaving on smaller sized sreens practically rises to not having a webpage anyway or even a whole lot worse.
Luckily for us the brand new 4th version of the Bootstrap framework grants us with a great instrument to deal with the case-- the so called navbar feature or the selection bar people got used seeing on the top of most web pages. It is really a useful still impressive tool for wrapping our brand's status information, the web pages building and also a search form or else a couple of call to action buttons. Let us see just how this whole thing gets done within Bootstrap 4.
The best ways to use the Bootstrap Menu Tutorial:
First and foremost we want a
<nav>.navbar.navbar-light.bg-fadedbg-inverse.navbar-inverseYou can additionally apply one of the contextual classes just like
.bg-primary.bg-warningOne more bright new element introduced in the alpha 6 of Bootstrap 4 system is you must in addition designate the breakpoint at which the navbar should collapse to get shown once the menu button gets pressed. To work on this provide a
.navbar-toggleable- ~the desired viewport size ~<nav>Following step
Next we must make the so called Menu tab that will show in the location of the collapsed Bootstrap Menu Template and the visitors are going to utilize to deliver it back on. To perform this generate a
<button>.navbar-togglerdata-toggle =“collapse”data-target =“ ~ the ID of the collapse element we will create below ~ ”.navbar-toggler-rightMaintained content
Navbars shown up with embedded help for a variety of sub-components. Choose from the following as needed :
.navbar-brand.navbar-nav.navbar-toggler.form-inline.navbar-text.collapse.navbar-collapseHere is actually an example of each of the sub-components involved in a responsive light-themed navbar that promptly collapses at the
md
<nav class="navbar navbar-toggleable-md navbar-light bg-faded">
  <button class="navbar-toggler navbar-toggler-right" type="button" data-toggle="collapse" data-target="#navbarSupportedContent" aria-controls="navbarSupportedContent" aria-expanded="false" aria-label="Toggle navigation">
    <span class="navbar-toggler-icon"></span>
  </button>
  <a class="navbar-brand" href="#">Navbar</a>

  <div class="collapse navbar-collapse" id="navbarSupportedContent">
    <ul class="navbar-nav mr-auto">
      <li class="nav-item active">
        <a class="nav-link" href="#">Home <span class="sr-only">(current)</span></a>
      </li>
      <li class="nav-item">
        <a class="nav-link" href="#">Link</a>
      </li>
      <li class="nav-item">
        <a class="nav-link disabled" href="#">Disabled</a>
      </li>
    </ul>
    <form class="form-inline my-2 my-lg-0">
      <input class="form-control mr-sm-2" type="text" placeholder="Search">
      <button class="btn btn-outline-success my-2 my-sm-0" type="submit">Search</button>
    </form>
  </div>
</nav>
Brand
The
.navbar-brand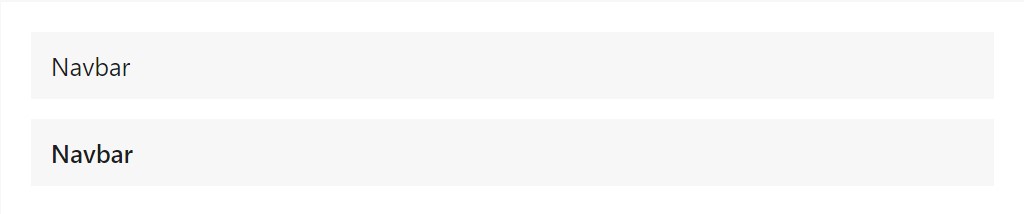
<!-- As a link -->
<nav class="navbar navbar-light bg-faded">
  <a class="navbar-brand" href="#">Navbar</a>
</nav>

<!-- As a heading -->
<nav class="navbar navbar-light bg-faded">
  <h1 class="navbar-brand mb-0">Navbar</h1>
</nav>
Nav
Navbar site navigation web links founded on Bootstrap
.navActive states-- with
.active.nav-links.nav-items
<nav class="navbar navbar-toggleable-md navbar-light bg-faded">
  <button class="navbar-toggler navbar-toggler-right" type="button" data-toggle="collapse" data-target="#navbarNav" aria-controls="navbarNav" aria-expanded="false" aria-label="Toggle navigation">
    <span class="navbar-toggler-icon"></span>
  </button>
  <a class="navbar-brand" href="#">Navbar</a>
  <div class="collapse navbar-collapse" id="navbarNav">
    <ul class="navbar-nav">
      <li class="nav-item active">
        <a class="nav-link" href="#">Home <span class="sr-only">(current)</span></a>
      </li>
      <li class="nav-item">
        <a class="nav-link" href="#">Features</a>
      </li>
      <li class="nav-item">
        <a class="nav-link" href="#">Pricing</a>
      </li>
      <li class="nav-item">
        <a class="nav-link disabled" href="#">Disabled</a>
      </li>
    </ul>
  </div>
</nav>
Forms
Situate several form regulations and components inside of a navbar by using
.form-inline
<nav class="navbar navbar-light bg-faded">
  <form class="form-inline">
    <input class="form-control mr-sm-2" type="text" placeholder="Search">
    <button class="btn btn-outline-success my-2 my-sm-0" type="submit">Search</button>
  </form>
</nav>
Text
Navbars can contain pieces of message with the help of
.navbar-text
<nav class="navbar navbar-light bg-faded">
  <span class="navbar-text">
    Navbar text with an inline element
  </span>
</nav>
One more element
One more bright brand-new element-- within the
.navbar-toggler<span>.navbar-toggler-icon.navbar-brandNext we have to build the container for our menu-- it is going to widen it in a bar along with inline things above the defined breakpoint and collapse it in a mobile phone view below it. To perform this build an element with the classes
.collapse.navbar-collapse.navbar-toggler.collapseLast aspect
And finally it's moment for the real navigation menu-- wrap it inside an
<ul>.navbar-nav.nav<li>.nav-item.nav-linkConclusions
So typically this is certainly the form a navigating Bootstrap Menu Template in Bootstrap 4 should possess -- it is actually quite useful and intuitive -- right now the only thing that's left for you is considering the appropriate structure and pleasing captions for your web content.
Take a look at a few online video tutorials relating to Bootstrap Menu
Connected topics:
Bootstrap menu formal documentation

Mobirise Bootstrap menu
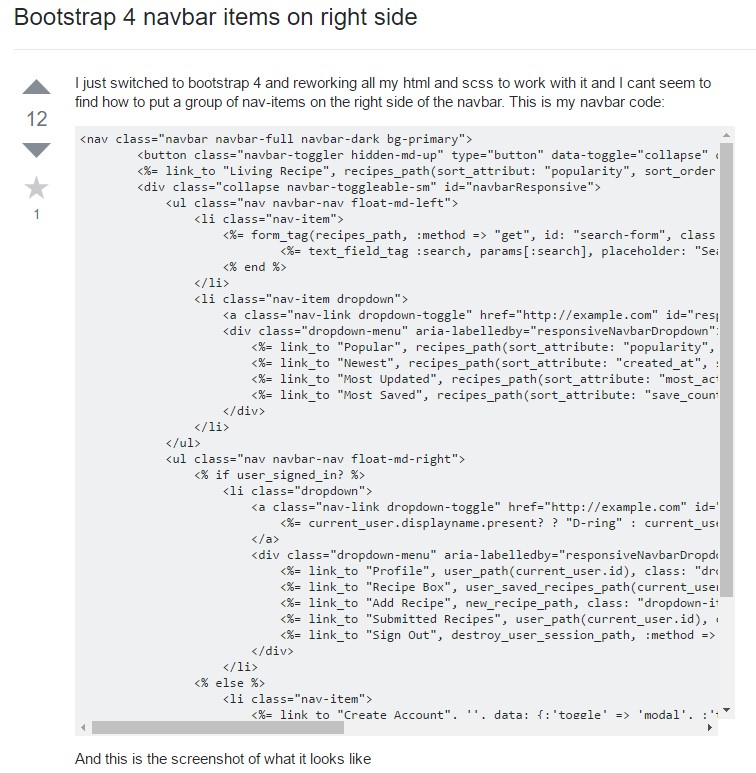
Bootstrap Menu on the right side